"Order Editor" Details 1
At the bottom of the "Order Editor" screen, there are five buttons: on the right, "Face Scan Viewer" and "Voice Scan Viewer"; in the center, "Back to Photo Library"; on the left, "Save to Library"; and in the upper right, "Back to Home".
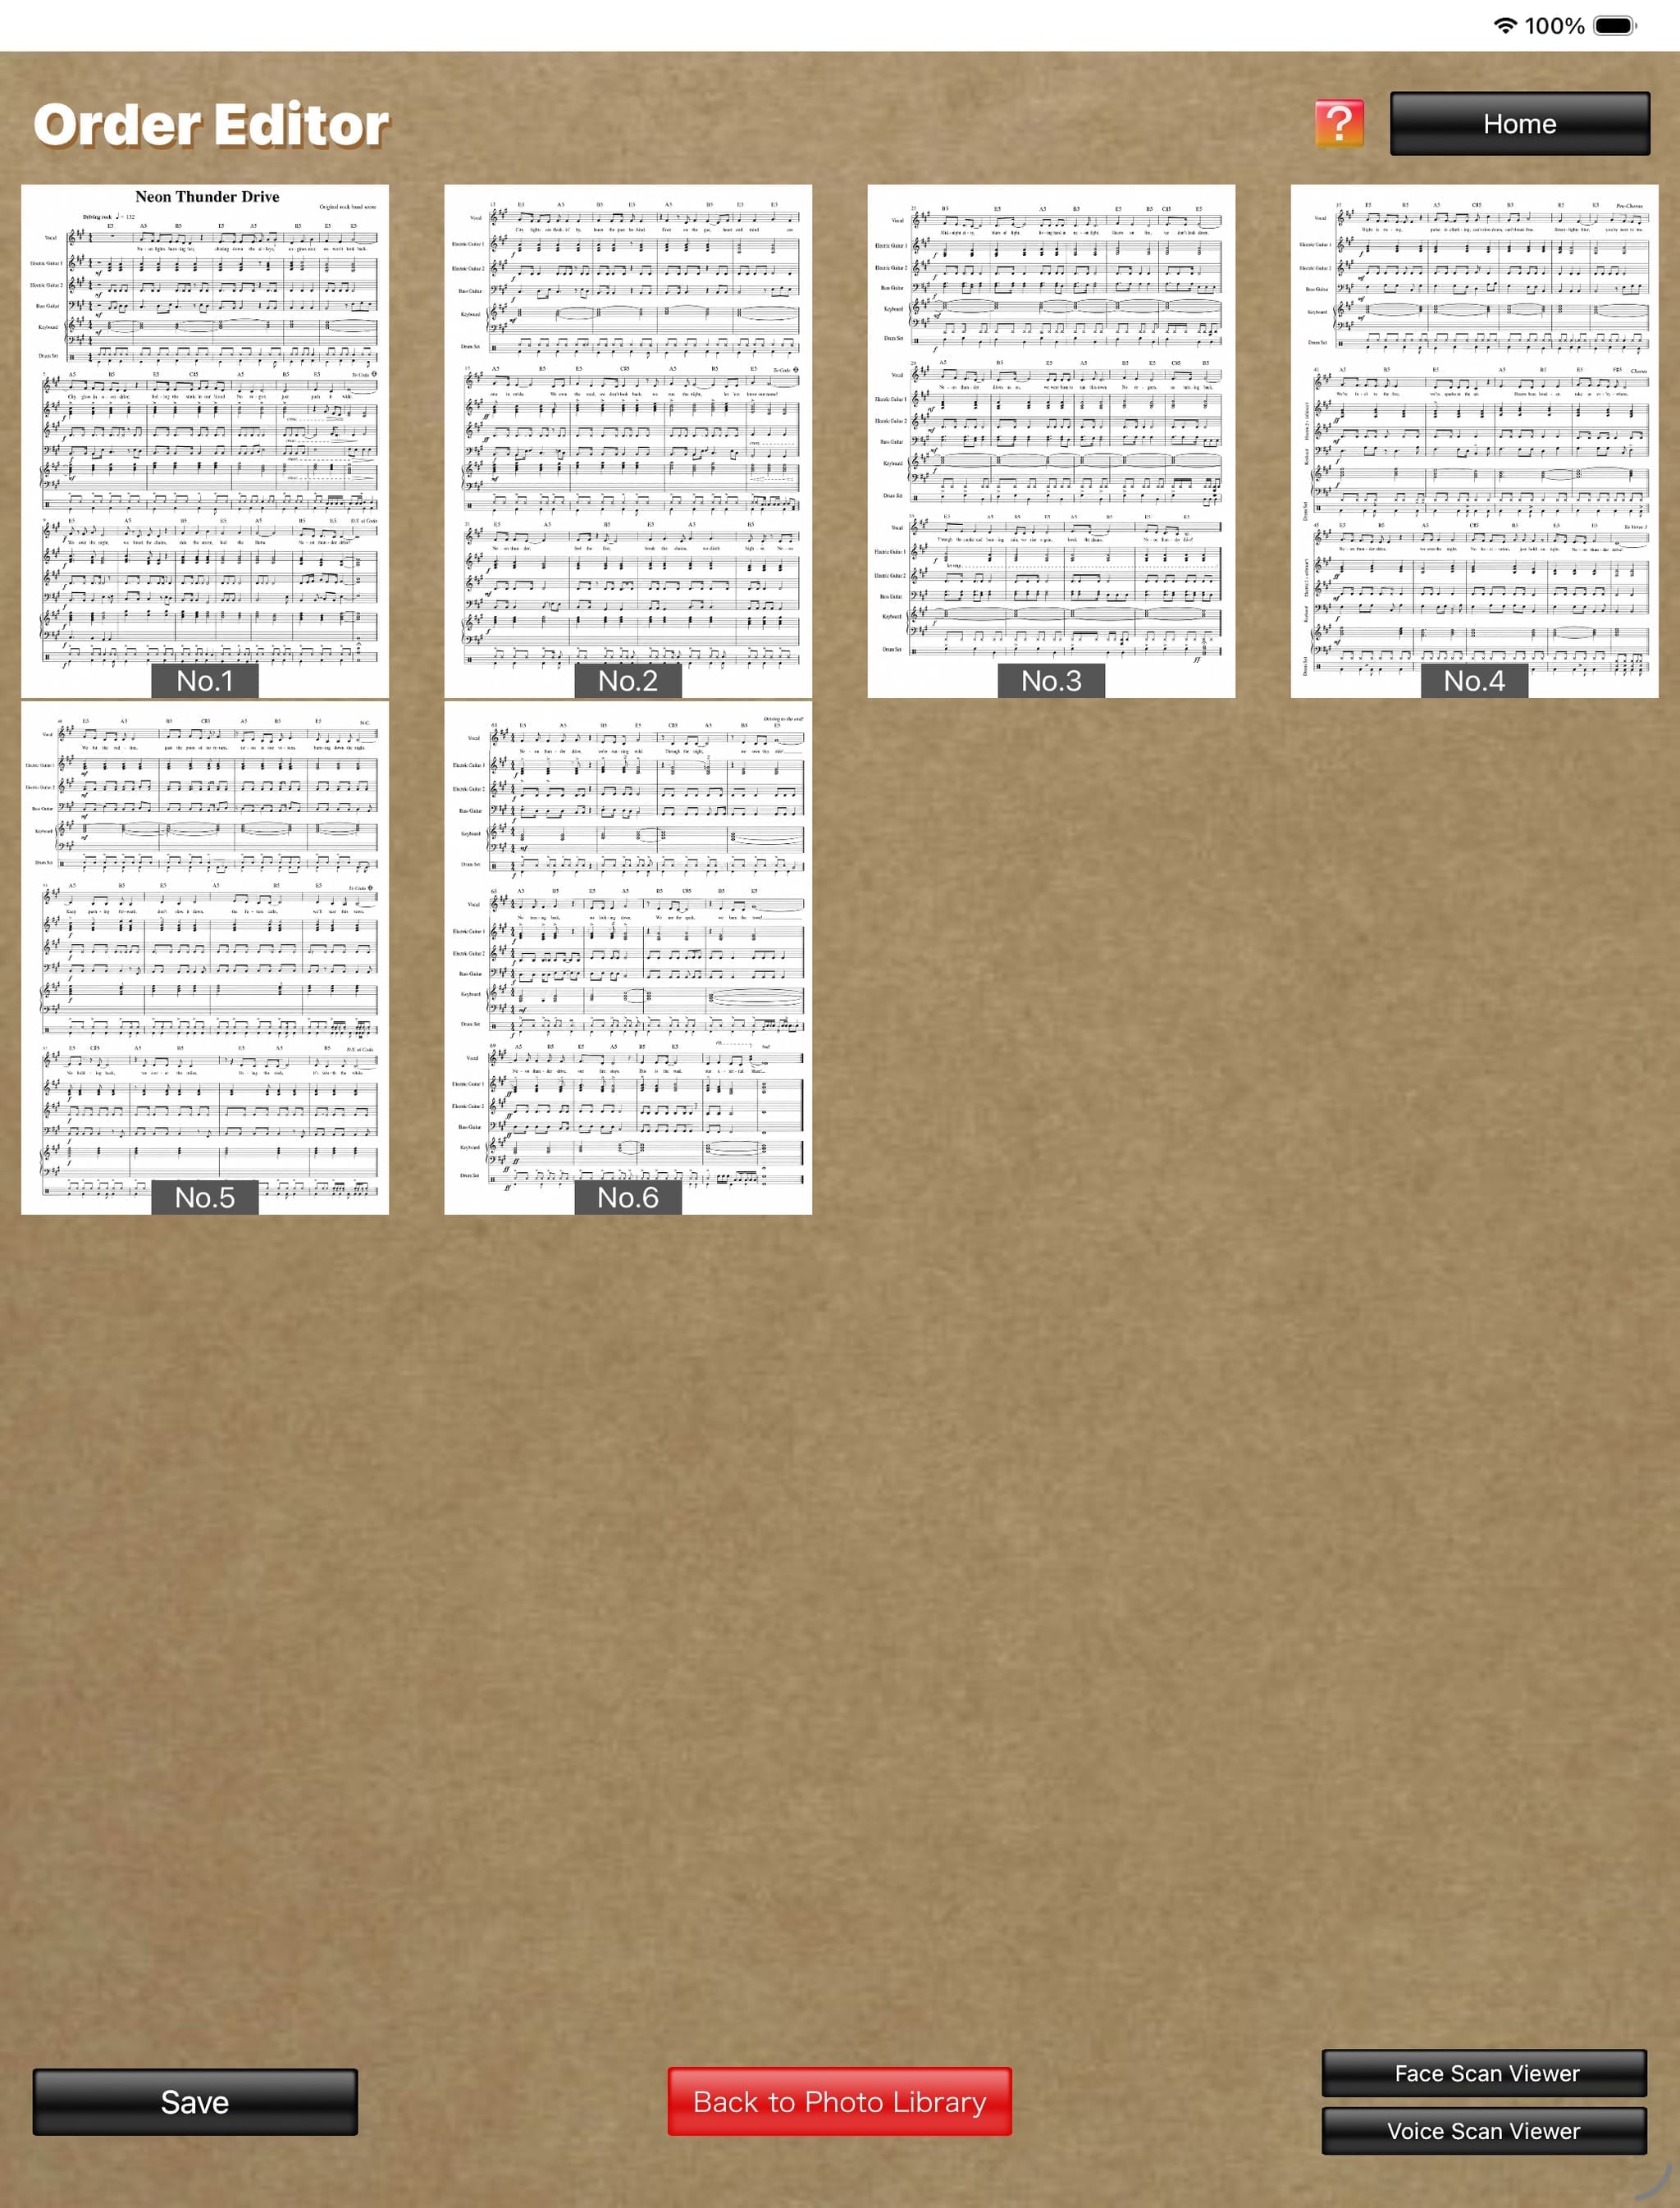
(The score image is an original image generated by AI.)
1.
Tapping the "Face Scan Viewer" button opens the "Score Viewer for Face Scan" screen and displays the images. On this screen, you can turn the displayed score pages using four facial states: head tilt, face movement, blink, and smile.
Tapping the "Voice Scan Viewer" button opens the "Score Viewer for Voice Scan" screen and displays the images. On this screen, you can turn the displayed score pages using three voice commands: "Next page", "Back page / Previous page", and "First page".
Tapping the "Voice Scan Viewer" button opens the "Score Viewer for Voice Scan" screen and displays the images. On this screen, you can turn the displayed score pages using three voice commands: "Next page", "Back page / Previous page", and "First page".
2.
Tapping the "Back to Photo Library" button returns to the Photo Library screen. Select another image to return to the "Order Editor" screen, where that image is added after the images already imported.
By repeating this process, you can add multiple images from the Photo Library to the "Order Editor" screen.
By repeating this process, you can add multiple images from the Photo Library to the "Order Editor" screen.
3.
Tapping the "Save to Library" button displays the "Save Score" dialog. Enter the artist name and song title, then tap "OK" to save the displayed score images as a score file. Either the artist name or the song title must be different from an existing saved score.
4.
Tapping the "Back to Home" button returns to the "Home" screen.